Sunday, June 19, 2022

Week 1: Better Black & White Photography


Black and White photography harkens back to the old days before the advent of color film.  
Some say it has a more authentic feel, a certain nostalgia about it.
This summer, am teaching myself to be a better Black & White photographer. 

B&W does force one to concentrate on the composition of an image. Give more consideration to shapes, forms, lines, subject matter. and their interaction. Color can make a weak image with poor composition look decent. B&W will not let you get away with that.

Having researched multiple books on B&W, subscribing to the B&W photo magazine for several years, am now ready to give it a serious go. Even invested in a monchrome camera. 

Why would you buy a camera that only shoots black and white when you can shoot color photos then convert the color image to B&W on your computer?

Answer: sharpness and quality of image. 

A color camera takes a photo by splitting the light coming into the camera using a color filter, into red, blue and green, plus the light and dark (luminance). When converting a color image to B&W, you are only getting the luminance from the pixels that were not being used to capture color.

The B&W camera uses all of its pixels to capture luminance. None of the sensor's pixels are used to capture color. Thus giving you a sharper image with more shades of light and dark. 

Since the B&W camera can capture more light and dark information, it is more sensitive in capturing images in low light situations.

Enough talk, let shoot
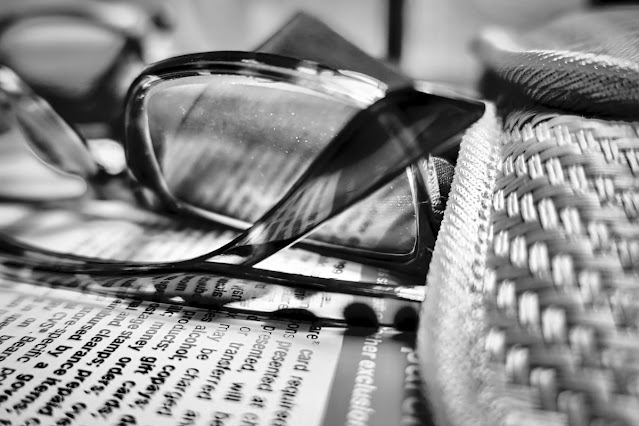
First, trying a few macro shots while at my desk.


That was interesting, now something with architecture,

Sun Rays


The next night I walked around the local outlet mall, hoping to catch something interesting.  Being a week night, here were very few people in the mall. Was not able to take any street portraits as I would have liked.

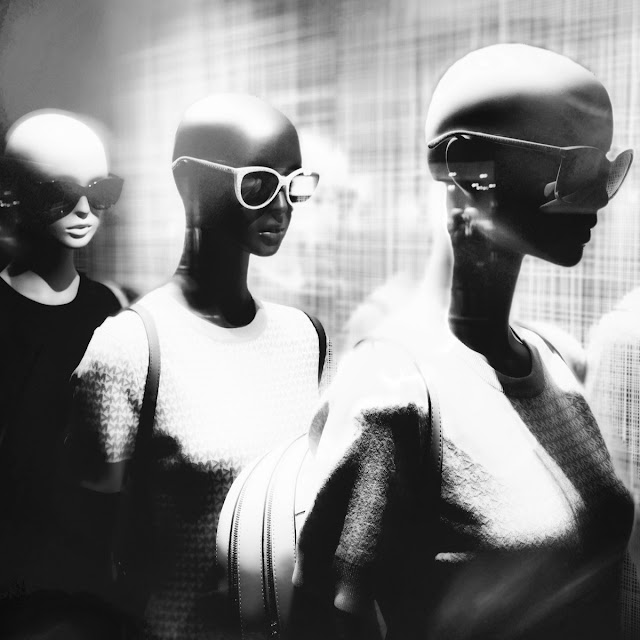
 Next are a few images captured while learning the settings on the camera. Learning where to stand to eliminate reflections on glass...  or be aware of reflections and place them where you want.

I hope he doesn't think he is in the dressing room.


Clones...


As the sun was setting, the few remaining shoppers departed, as did I.


Well, that's concludes this week's first walk-about session.

We will see what next week brings. 

Ride safe my friends,

CCjon


Week 2: Black & White Night Photography

A few days later returned to the mall after sunset to learn different camera settings.

After many failed attempts at night shots, only kept two. The high contrast of interior lights and the dark outdoors made it extremely challenging to get a decent photo.  Am sure the camera is capable to taking quality photos is this setting, the weak link is the photographer. 

Will keep reading and experimenting until I learn what the proper settings are. 
As someone said, if it was easy everybody would be doing it. 


The food truck lady inside under a bright light allowed the camera to capture her image. The customers outside waiting have a heavy grainy texture. 

When there is a large contrast between light and dark, the camera can only handle so much range, then it has to or you have to decide:  Do you set for light or for dark.


Dippin' Dots break...

His iPad screen gave off just enough light to brighten his face.


Those were the two night shots I felt were good enough to keep.  
Am not using any flash, just the camera settings and holding steady.

Will be back in a few days to try again.

Ride safe, keep shooting.

CCjon

Saturday, June 11, 2022

How to: Editing a Decisive Moment Photo

Was asked for a basic walk thru on the steps I use to edit a photo. 
Let's use the photo of Alex sneaking away with his diploma, shown in the previous post. 

First, to give you an idea of how far away I was from the stage.


Using my SONY RX10 III camera with a telephoto lens, captured this color image at 105mm focal length; typical snapshots are shot at 35mm focal length. If I had used 35mm, we would not be able to pick out Alex at the distance. This is where a good telephoto lens comes in handy.

The long lens gave us a raw image with potential to work with.


Okay, we have a raw image, now what?

First step: we want to eliminate artifacts that do not add to the story: the body on the left, the little boy in the lower left, the bleachers, tops of heads. Need to cut away anything that distracts from the image. The cutting is done by cropping the image. If I cannot crop it out, I'll try erasing it.

I probably crop 100% of the photos I take. My preference is to shoot a larger field than I think I'll need as it gives me more leeway when it comes to trimming away the non-essential. 

Here is the crop I applied to this image.  Cutting it down to include the essential parts of the story in a scene. That head in the lower left cannot be cut out without taking away from the action. Maybe we can do something about it as we continue working.


Next I converted the color image to black and white. Why? 

In the color shot above, the teacher's blouse and the aides white pants are both brighter than Alex's blue shirt. That green background is a hot spot. Our eyes will always go to the brightest point. This story is about Alex, so we need draw attention away from those brighter areas. Converting to B&W will help us do that.

In many photos I have used color to focus a viewer's attention. Today we'll use light and dark (levels of luminance) to do the job since color is not pertinent to the story.


With Alex's shirt a more equal tone in the image, we can continue massaging.

Next step is adding a vignette (that's the darkening of the edges) to keep the viewer's eyes 
from wandering off the page. The vignette darkened the green background, and blended the head shape into a shadow making it less noticeable. The vignette also changed the scene from three actors to two main characters with a supporting figure.

See the teacher's arm pointing off the stage. That strong line wants to lead the viewer's eye away from Alex.  That we'll fix in the final step.


First though a bit of sharpening...  a nudge of structure. 
Like grandma's recipes, a pinch of this, a dap of that is how its done.
Every photo editing software app has sliders to affect changes to the scene. A common mistake is in pushing the sliders too far. What is nice is you can always move the slider back if you go too far.

The final step was an ever so slight change. Can you spot it?


When everything in an image is a similar tone, it will look flat, lacking depth.

A smidgen of brightening was added on Alex's face and shirt to make him move forward, away from the teacher. Light moves an object forward. Darkening makes it recede. Adding or taking away light creates depth.

Most dramatic change is in comparing Alex in the final image with the teacher's aide on the right. In the color photo the aide was a prominent feature. Now we have three distinct layers: Alex in front moving forward, the teacher in the middle ground and the aide playing third fiddle backup. 

If the last two photos look exactly the same to you, look again at the tonality change in Alex's shirt sleeve against the teacher's arm in the two photos. The shirt is now slightly brighter giving a sharper edge/contrast, separating the distance between the two persons. 

Those were the adjustments made to arrive at the final image.

**********************

Henri Cartier Bresson the French photographer coined the term decisive moment. In reviewing images of the top ten black and white photographers, you will see their most memorable images were all decisive moments. Each one was in the right place at the right time with the right equipment.  Decisive moment images can not be created in a studio or planned, they just happen... everyday. They are happening all around us, everywhere. Those fleeting moments are the hardest to capture as they are gone in an instant. Success is being prepared for when the opportunity presents itself. 

******************

Thanks for following along, hope this gives you an insight into my editing thought process.  Yours will be different are we each see the world differently. That's okay, we need variety in life.

Ride safe my friends,

CCjon


Thursday, June 9, 2022

Alex's Pre-K Graduation

Our youngest grandson, Alex Daub graduated from Pre-K in May.  
Of course Tita and I would not miss these family moments.


Alex, the proud Pr-K Graduate


Captured this moment after he hugged his teachers. With diploma in hand, he turned to escape, 
the wrong direction

Love the expression on Alex's face. 

" I Got it!"


Alex with his proud parents, Lily and Alan.


CONGRATULATIONS ALEX

SUPER JOB DAUB

******************

Alex is the youngest of our five grandsons, 
soon to be bumped up to second youngest when Ronin arrives in July.


Ride safe my friends,

CCjon